Tyranny of Dragons
Episode Three: The Dragon Hatchery
Cracking a few eggsStormwatch ventured into their first dungeon and proceeded to spring every single trap laid by their adversaries. No tripwire nor faulty flagstone was left untriggered, much to the delight of the dungeon designers. In order:
- The first trap — a tricksy step — left Ash struggling with violet fungi spores, while Jorin went full Aussie Rules on Bally’s back to save Martmaal from an ambushing dragonclaw guard.
- Next, a guano-laden cavern proved too tricky to navigate, and Martmaal and Bally ended up face down in goop. Not strictly a trap, nevertheless a fury of bats and striges was unleashed as a result of the clumsy footwork.
- Wary now, Marko began checking closely. After successfully negotiating his way into a locker of meat, he unfortunately missed the spike trap that left Martmaal worse for wear and confused enough to run headlong into a kobold guard group.
- After cleaning out a brood of junior guard drakes, and their flying kobold keepers, Marko gave the all clear for the group to head down the next stairway. The ceiling proceeded to collapse on the group as Jorin crossed the threshold.

This time to the death
Finally the group reached a large and ornately carved chamber, where they found their Greenest adversary Langdedrosa Cyanwrath — and two huge berserker guards. Cyanwrath was pleased to see Jorin again, and wasted no time engaging in combat.
This time there was no honour fight however, and the battle raged fiercely. Donald seared and scorched one guard down while Bally came into his own carving holes in the other. Eventually Stormwatch prevailed, and Cyanwrath nodded with respect as the killing blow was landed by Jorin’s stick & flying feet of fury.
Inspecting the room revealed dragons carvings coiled and knotted together, dominated by a monstrous shrine to Tiamat, depicting the five-headed Dragon Queen emerging from an erupting volcano. At the foot of the shrine sat a silver & pearl chest. Which was of course…
- ...trapped. Marko, brimming with confidence now, picked up the chest, which set off an deadly acid spray that spewed from the mouths of the carved dragons. The group barely escaped from the cloud of death, needing to rest for a period to (barely) recover.
Proceeding with care, Stormwatch reached their destination — a dragon egg hatchery. Two — no, three! — eggs lay in the chamber, guarded by drakes and kobolds who provided only minimal resistance. More interesting was a talking stalactite, who decided against eating the party when it was instead provided with the innards of the gutted drakes and kobolds.
The eggs were collected, and departure prepared. But not before Marko decided one last ambush should be sprung. Frulam Mondath took the offered opportunity to hack Marko a few times and things looked precarious, before Bally cleverly put the eggs on the line, destroying one to keep Mondath at bay. The standoff gave the group time to scarper out of the dungeon. The eggs were sacrificed on the way, though the two black dragon embryo’s were collected by Donald.
Mission accomplished!
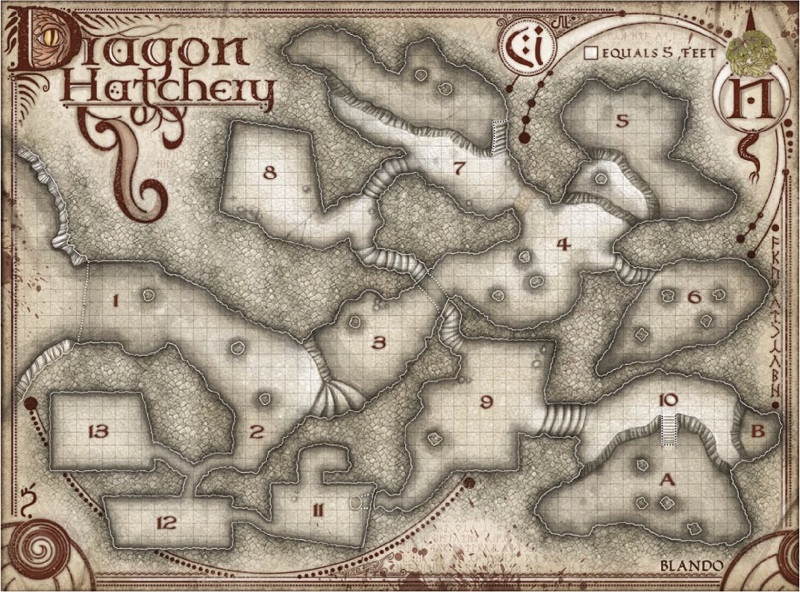
Map of the Dragon Hatchery. Buy the map from Jared Blando here
Meta
The chest contained:
- a pearl necklace (300p)
- a gold and sapphire ring (900gp)
- 6 master cut precious stones (100gp each)
- Also a note directing the hoard to be freighted north to Naerytar, a location none of you have heard of.
You also all LEVEL UP. You should now be level 3. Well played all!
Session played: November 17 & December 8, 2015